Event-Based Architecture for SpriteKit
Article originally written in brazilian portuguese. Translated by: Kayque Moraes
This article is part of what I presented in the talk I gave at CocoaHeads ES in Vitória, held at Brooder in November 2019, "Creating Your First Game with SpriteKit." There, I talk a little more about the objects, features, and lifecycle of SpriteKit itself, as well as introducing the event-based architecture.
SpriteKit is a framework developed by Apple for the creation of high-performance 2D games. As a former game developer, this framework naturally attracted me as soon as I started studying Swift and developing apps. However, as I was working with Unity, which has a highly opinionated architecture, I initially felt lost when trying to create experiences with SpriteKit. The talk I gave and, consequently, this article, are the result of an attempt to make development with SpriteKit more structured to facilitate its understanding.
The game I developed to demonstrate this architecture is a simple infinite runner that includes all the basic elements expected of a game: a character with movements, actions, animations, health points, and sounds, existing in an animated environment with enemies that react to the character and attempt to end its existence. And of course, it features a great background soundtrack as well.
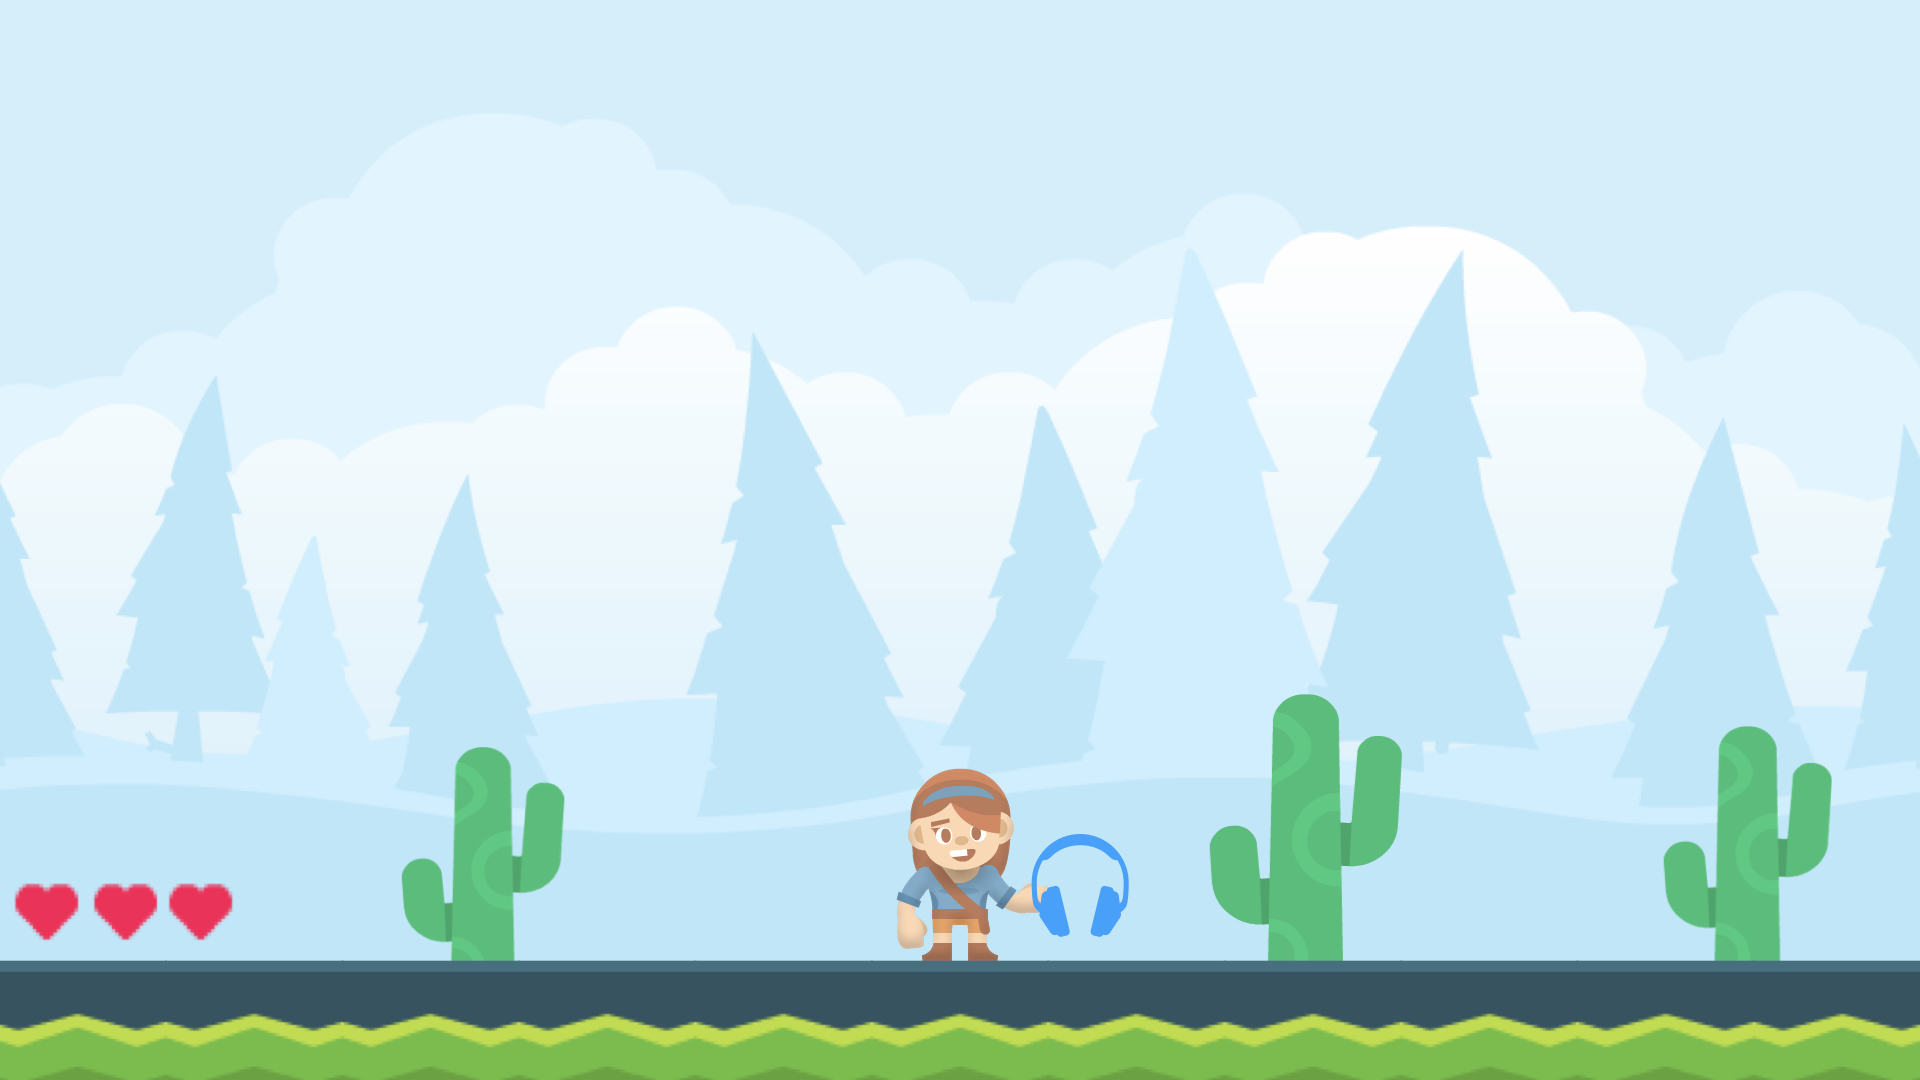
All of this game’s art is composed of public domain assets, created by the great Kenney
SpriteKit’s basic object is SKNode. All objects used within its context share this type, forming a tree structure of parent and child nodes, with built-in methods to access them.
When any node is created, SpriteKit automatically organizes its hierarchy accordingly. This allows us to establish a standardized communication form of communication between nodes. With a base object and a simple extension, our node can receive an event and choose to propagate, modify, or prevent it from continuing down the chain:
swift
@objc class Event: NSObject {}

extension SKNode: EventHandler {
    @objc func handle(event: Event) {
        guard !children.isEmpty else { return }
        children.forEach { $0.handle(event: event) }
    }

    @objc func raise(event: Event) {
        parent?.raise(event: event)
    }
}
With these two methods, when we create a node, it automatically propagates the passed event up or down the chain. If we want to modify an event, we can handle it like this:
swift
final class MyNode: SKNode {
    override func handle(event: Event) {
        // Handle events in any way necessary
        super.handle(event: event) // Then pass them along if needed
    }

    override func raise(event: Event) {
        // Modify or handle the event
        super.raise(event: event) // Continue propagation up the tree
    }
}
We can also create elements in the event chain that aren't part of SpriteKit—elements that aren’t necessarily SKNode—to handle external elements such as a UIKit view, the device’s haptic feedback controller, etc. To achieve this, we use the EventHandler protocol, which SKNode implements:
swift
protocol EventHandler: AnyObject {
    func handle(event: Event)
    func raise(event: Event)
}
Now that we have a foundation, we can begin creating our objects, events, and interactions. To start, we establish all UI, level, and character nodes at the beginning of our SKScene lifecycle:
swift
override func didMove(to view: SKView) {
    setupHandlers()
    setupSpeed()
}

func setupHandlers() {
    let sknodes = [
        UIController(),
        LevelController(),
        PlayerController()
    ]
    sknodes.forEach(addChild)
}

func setupSpeed() {
    handle(event: SpeedEvent(speed: 30))
}
Each event passed through the system is a complete object that can either indicate an occurrence or carry additional data about the event itself. For example, SpeedEvent defines the game speed, and each object handles it as needed:
swift
final class SpeedEvent: Event {
    let speed: CGFloat

    init(speed: CGFloat) {
        self.speed = speed
    }
}

// VisibleFloor.swift
override func handle(event: Event) {
    if let event = event as? SpeedEvent {
        floorSpeed = event.speed
        removeAllActions()
        animateTiles()
    }
}

// EnemyController.swift
override func handle(event: Event) {
    if let event = event as? SpeedEvent {
        floorSpeed = event.speed
        removeAllActions()
        animateEnemies()
    }
}
To handle events that simply indicate something happening in the system, we can simplify the process:
swift
// AudioController.swift
override func handle(event: Event) {
    if event is DeathEvent {
        playDeathSound()
    }
}
Finally, to demonstrate how easy it is to create objects that interact with the system and trigger effects in the chain—even if they aren't SKNode we can add support for Xbox and PlayStation controllers using a simple class:
swift
import GameController

final class GameController: EventHandler {

    private weak var parent: EventHandler?
    private var controller: GCController?

    init(parent: EventHandler) {
        self.parent = parent
    }

    func addObservers() {
        NotificationCenter.default.addObserver(self,
                                               selector: #selector(setupInput),
                                               name: .GCControllerDidConnect,
                                               object: nil)
    }

    @objc func setupInput() {
        self.controller = GCController.controllers().first
        controller?.extendedGamepad?.buttonA.pressedChangedHandler = { [weak self] (_, _, pressed) in
 if pressed {
                self?.raise(event: InteractionEvent(type: .tap))
            }
        }
    }

    func handle(event: Event) {}

    func raise(event: Event) {
        parent?.raise(event: event)
    }
}
The talk I gave features a hands-on section that showcases this entire architecture in action, including a live coding session that highlights how easy it is to add new features and create objects that interact dynamically, without requiring objects to be aware of each other directly. The full project can be found on my GitHub.